
Gluten-free Olive Bread
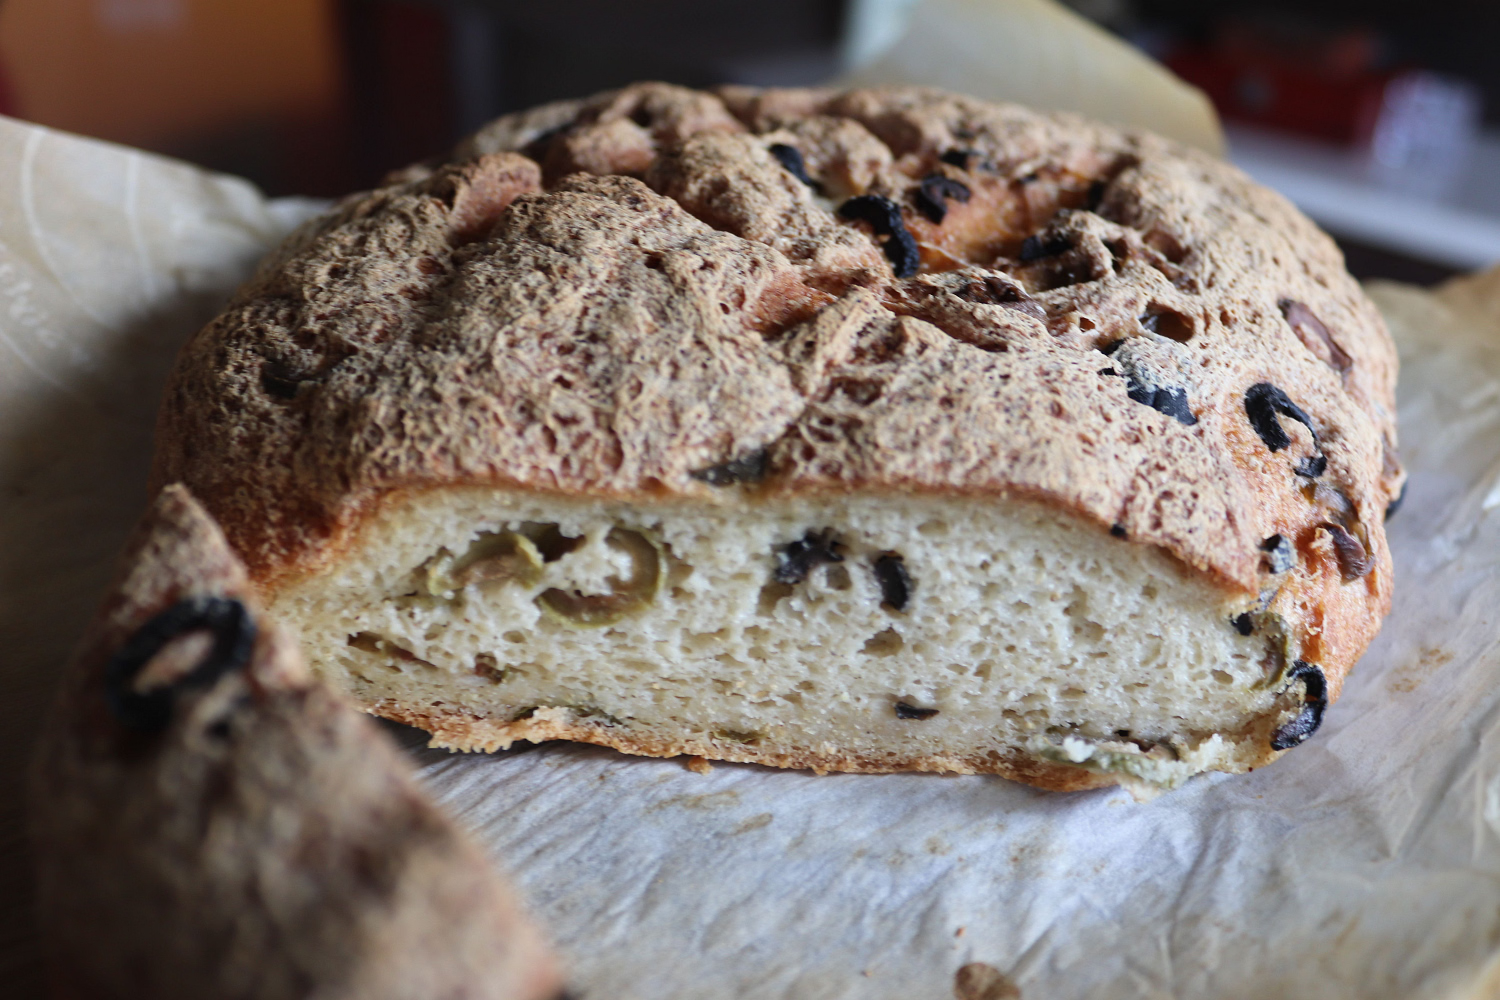
Psyllium husk does the work gluten normally would. A gel, a long prove, and a hot skillet full of steam — which is what gives you an open, soft crumb without a scrap of gluten.
- Prove
- 45 min – 1 hr
- Bake
- 55–60 min
- Total
- 2 hr 15 min
- Makes
- 1 loaf
Ingredients
Can’t eat one of these? Adapt this recipe for milk, eggs and 12 more →
Method
-
In a bowl, mix together the psyllium husk and 240 g (1 cup) of the water. After about 15-20 seconds, a gel will form.
20 g whole psyllium husk -
In a large bowl — or the bowl of a stand mixer fitted with the dough hook — whisk together the tapioca starch, sorghum flour, millet flour, sugar, yeast and salt, until evenly combined.
125 g tapioca starch 105 g sorghum flour 90 g millet flour 15 g granulated sugar 8 g instant yeast 8 g salt -
Make a well in the middle of the dry ingredients and add the psyllium gel, vinegar, oil and the remaining water. Knead the dough until smooth and it starts coming away from the sides of the bowl, about 5-10 minutes. Make sure that there are no unmixed patches of dry flour.
10 g apple cider vinegar 12 g olive oil -
Transfer the dough to a lightly floured surface and roll it out until it’s about ½ inch (about 1.5 cm) thick. The exact dimensions of the rolled-out dough aren’t important.
-
Scatter the roughly chopped olives evenly across the dough and then roll it up, so that all the olives are fully enclosed by the dough.
135 g roughly chopped olives -
Give the dough a gentle knead. This will help to get the olives evenly distributed throughout the bread. If any olive pieces fall out of the dough, just press them back in.
-
Shape the bread into a ball, then flip it seam side down onto a part of the work surface that isn’t covered in flour and rotate it in place between your palms to seal the seams. Knead until you’re happy with the shape and the smoothness of the surface, but be careful not to incorporate too much extra flour — that can make the baked bread too dense and dry.
-
Place the dough seam side up into a 7-inch (18 cm) round proofing basket that you’ve dusted with millet flour. Cover with a clean dish towel or cling film and prove in a warm place until doubled in volume, about 45 minutes to 1 hour.
-
While the loaf is proving, pre-heat the oven to 480ºF (250ºC) with a cast iron skillet on the middle oven rack, or a Dutch oven or combo cooker on the lower middle rack. If you’re using a skillet, place a baking tray on the bottom rack of the oven.
-
Once the dough has doubled in volume, turn it out of the proofing basket onto a piece of baking paper and score the top about ¼–½ inch deep, using a bread lame or sharp knife. Take the hot skillet or Dutch oven out of the oven and transfer the bread, baking paper and all, into it.
-
If using a cast iron skillet: place the skillet in the oven, pour hot water into the bottom baking tray, add 3-4 ice cubes around the bread between the baking paper and the skillet, and close the oven door. If using a Dutch oven or combo cooker: add 3-4 ice cubes around the bread between the baking paper and the walls, close it, then place it into the pre-heated oven.
-
Bake at 480ºF (250ºC) with steam for 15 minutes. Don’t open the Dutch oven or the oven door during this initial period, as that would let the steam escape.
-
Remove the bottom tray of water (for a cast iron skillet) or uncover the Dutch oven, reduce the oven temperature to 400ºF (200ºC), and bake for a further 40-45 minutes in a steam-free environment. The final loaf should be a golden brown colour and weigh about 790 g immediately out of the oven, about 14% weight loss.
-
Transfer the loaf onto a wire cooling rack to cool completely, or at least until lukewarm, before cutting into it.
Notes from testing
You can use an equal weight of finely milled brown rice flour in place of the millet flour.
No proofing basket? Use a similarly sized mixing bowl, about 7 inches (18 cm) across, lined with a clean dish towel and lightly dusted with millet flour.
Proving time depends on your kitchen — warm rises faster, cold rises slower. The bread needs to roughly double in volume before it goes into the oven.
No cast iron skillet or Dutch oven? A large baking sheet works, following the skillet instructions. You may get a slightly flatter loaf from the reduced oven spring.
For a crunchier crust, bake the second stage at 425ºF (220ºC) instead of 400ºF (200ºC).
Weighing the loaf tells you whether it has lost enough moisture for a soft, open, non-sticky crumb — the most reliable way to tell when gluten-free bread is done.
It keeps well in a closed container, or wrapped in a clean dish towel, in a cool dry place for 3-4 days.